Saturday, September 14, 2024
How to Reuse a Sticky Note
Saturday, August 31, 2024
DIY Cardboard Picture Frame
I love picture frames, they are just so cute!!! And they make a great bedroom decoration! So I thought, ‘Why not make one yourself?’ So let’s make one!
Supplies:
Cardboard (I used some from a box)
A hot glue gun (you can also use a glue stick like I did)
Scissors
A pencil
Paper (in whatever color you want, I used white)
Directions:
1. Cut a piece of cardboard that is the same size that you want the entire frame to be (keep in mind the size of your picture!)
2. Cut another piece of cardboard that is the same size as your last one
3. Then pick the one you want to be the frame part of the frame, and trace the size of your photo onto it, then cut it out, leaving an empty space in the middle of the cardboard.
4. Cover the frame part of your frame with paper (if you want)
Saturday, August 10, 2024
Paper Pencil Garland
The time is coming again to go back to school. And whether it is you, your kids, or someone you know that is going back to school, these are perfect! If you are homeschooled these can make a great decoration for your school photo. Or, you can hang them in your room just for fun! It all works so long as you think it does! So let’s jump right it and get to work!
Supplies:
Yellow paper
Pink paper
Black paper
Tan paper (or white paper colored tan)
A pencil
Yarn/string (technically, you could just tape them too the wall if you don’t want a garland)
Scissors
A glue stick
Directions:
1. Cut out a triangle from your yellow paper
2. Place the triangle over your pink paper about an inch and trace with that as your guide (and yes, my pink paper is very sad ;) )
3. Then cut out the traced shape you have on your pink paper
4. Glue it too your yellow triangle, right at the bottom
5. Now place the triangle over your black paper, and trace a small black line, started where the pink ends at the top
6. Cut out, and glue to the paper right at the top of the pink
7. Now cut a triangle out of your tan paper (a small one, just big enough for the tip of your pencil, where the lead would be on a normal pencil) and make it bumpy
8. Now use your pencil to add the lead tip on top of the tan paper
9. Glue to your triangle
10. Attach to string, make more, and you’re done!!
Sunday, July 28, 2024
Whale Tape Dispenser
These can be used to decorate an office, bedroom, or wherever! Or, you could even make them with new tape dispensers, and use it! If you’re like me, then you are ready to get started and craft, so let’s go!
Supplies:
Empty/used tape dispenser (or if you want it to give tape instead of being decoration, you can use a new one!)
Scissors
Light blue paper (or whatever color you want your whale to be!)
Darker blue paper (or whatever color!)
Pencil
Glue
Directions:
1. Take one of your papers (I used the lighter blue for the whale’s body) and place the tape dispenser upside-down on top of it and trace it (yes, my paper is very sad looking ;))
Note: when you are done tracing, it should look like this:
2. Now cut out what you traced
Thursday, July 18, 2024
Paper Fireworks
This can be a great way to a a pop of color to your room! You can cover the walls in different colored fireworks, the same colored fireworks, or whatever you feel like! These are simple to make, and only take a couple minutes and supplies!
Supplies:
Paper (in a color of your choice)
Paper (in a different color than the other one)
Glue
Scissors
Directions:
Take one of your papers, and cut it into strips that aren’t to wide and not to thin (a little less than 1 and a half inches I think) (and cut from the longer side of the paper)
2. Keep doing this until you have a good amount
3. Now add a bit of glue to the center of one of your strips
4. Place another strips center right on top of where you glued (just make sure it goes in a different direction!)
5. Keep repeating this until you get this shape:
6. Now take your other piece of paper, and cut it into strips (cut from the shorter side of the paper)
7. Now cut those strips in half
8. Now do the same glue steps with these ones, and glue them onto the other paper so it looks like this:
9. And now you’re done!
Saturday, July 6, 2024
Things to do When You are Bored and Have a Lot of Time on Your Hands
We all get bored. And, at least for me, being bored is not fun. But there are ways to end boredom! And I am going to list a few of them to keep you away from the terrible thing that is boredom. So join me today as I list things to do when you are bored!
Learn an instrument:
Not a lot of things make me happier than when I am working on my guitar. When I first started working on learning a song on guitar, it was difficult. But when I got the right sound, I literally kicked my legs in the air since I was so happy. I also hugged my guitar, I may be weird to you, but it did feel nice to hug it. Luckily for me, I have a great guitar teacher that is helping me learn guitar. But you can also watch videos on how to play your instrument, or perhaps you know someone who can teach you. Learning an instrument is hard, but it is so worth it! And it is fun as well!
Make a map:
There are a lot of maps you could make. You could make a fantasy map, where you create your own world and the places in it! Or you could create a map that shows where you live, and places around you! All you need is a pen or pencil, paper, and that’s it! Making a map is fun, and you can even invent new names for places that surround you! For example, plain old ‘Smith Road’ can be changed to something much more exciting! If it has a lot of trees, you could call it ‘The Branch Pathway’. Or if you do your best thinking there, it could be ‘Imagination Way’. The possibilities are endless!
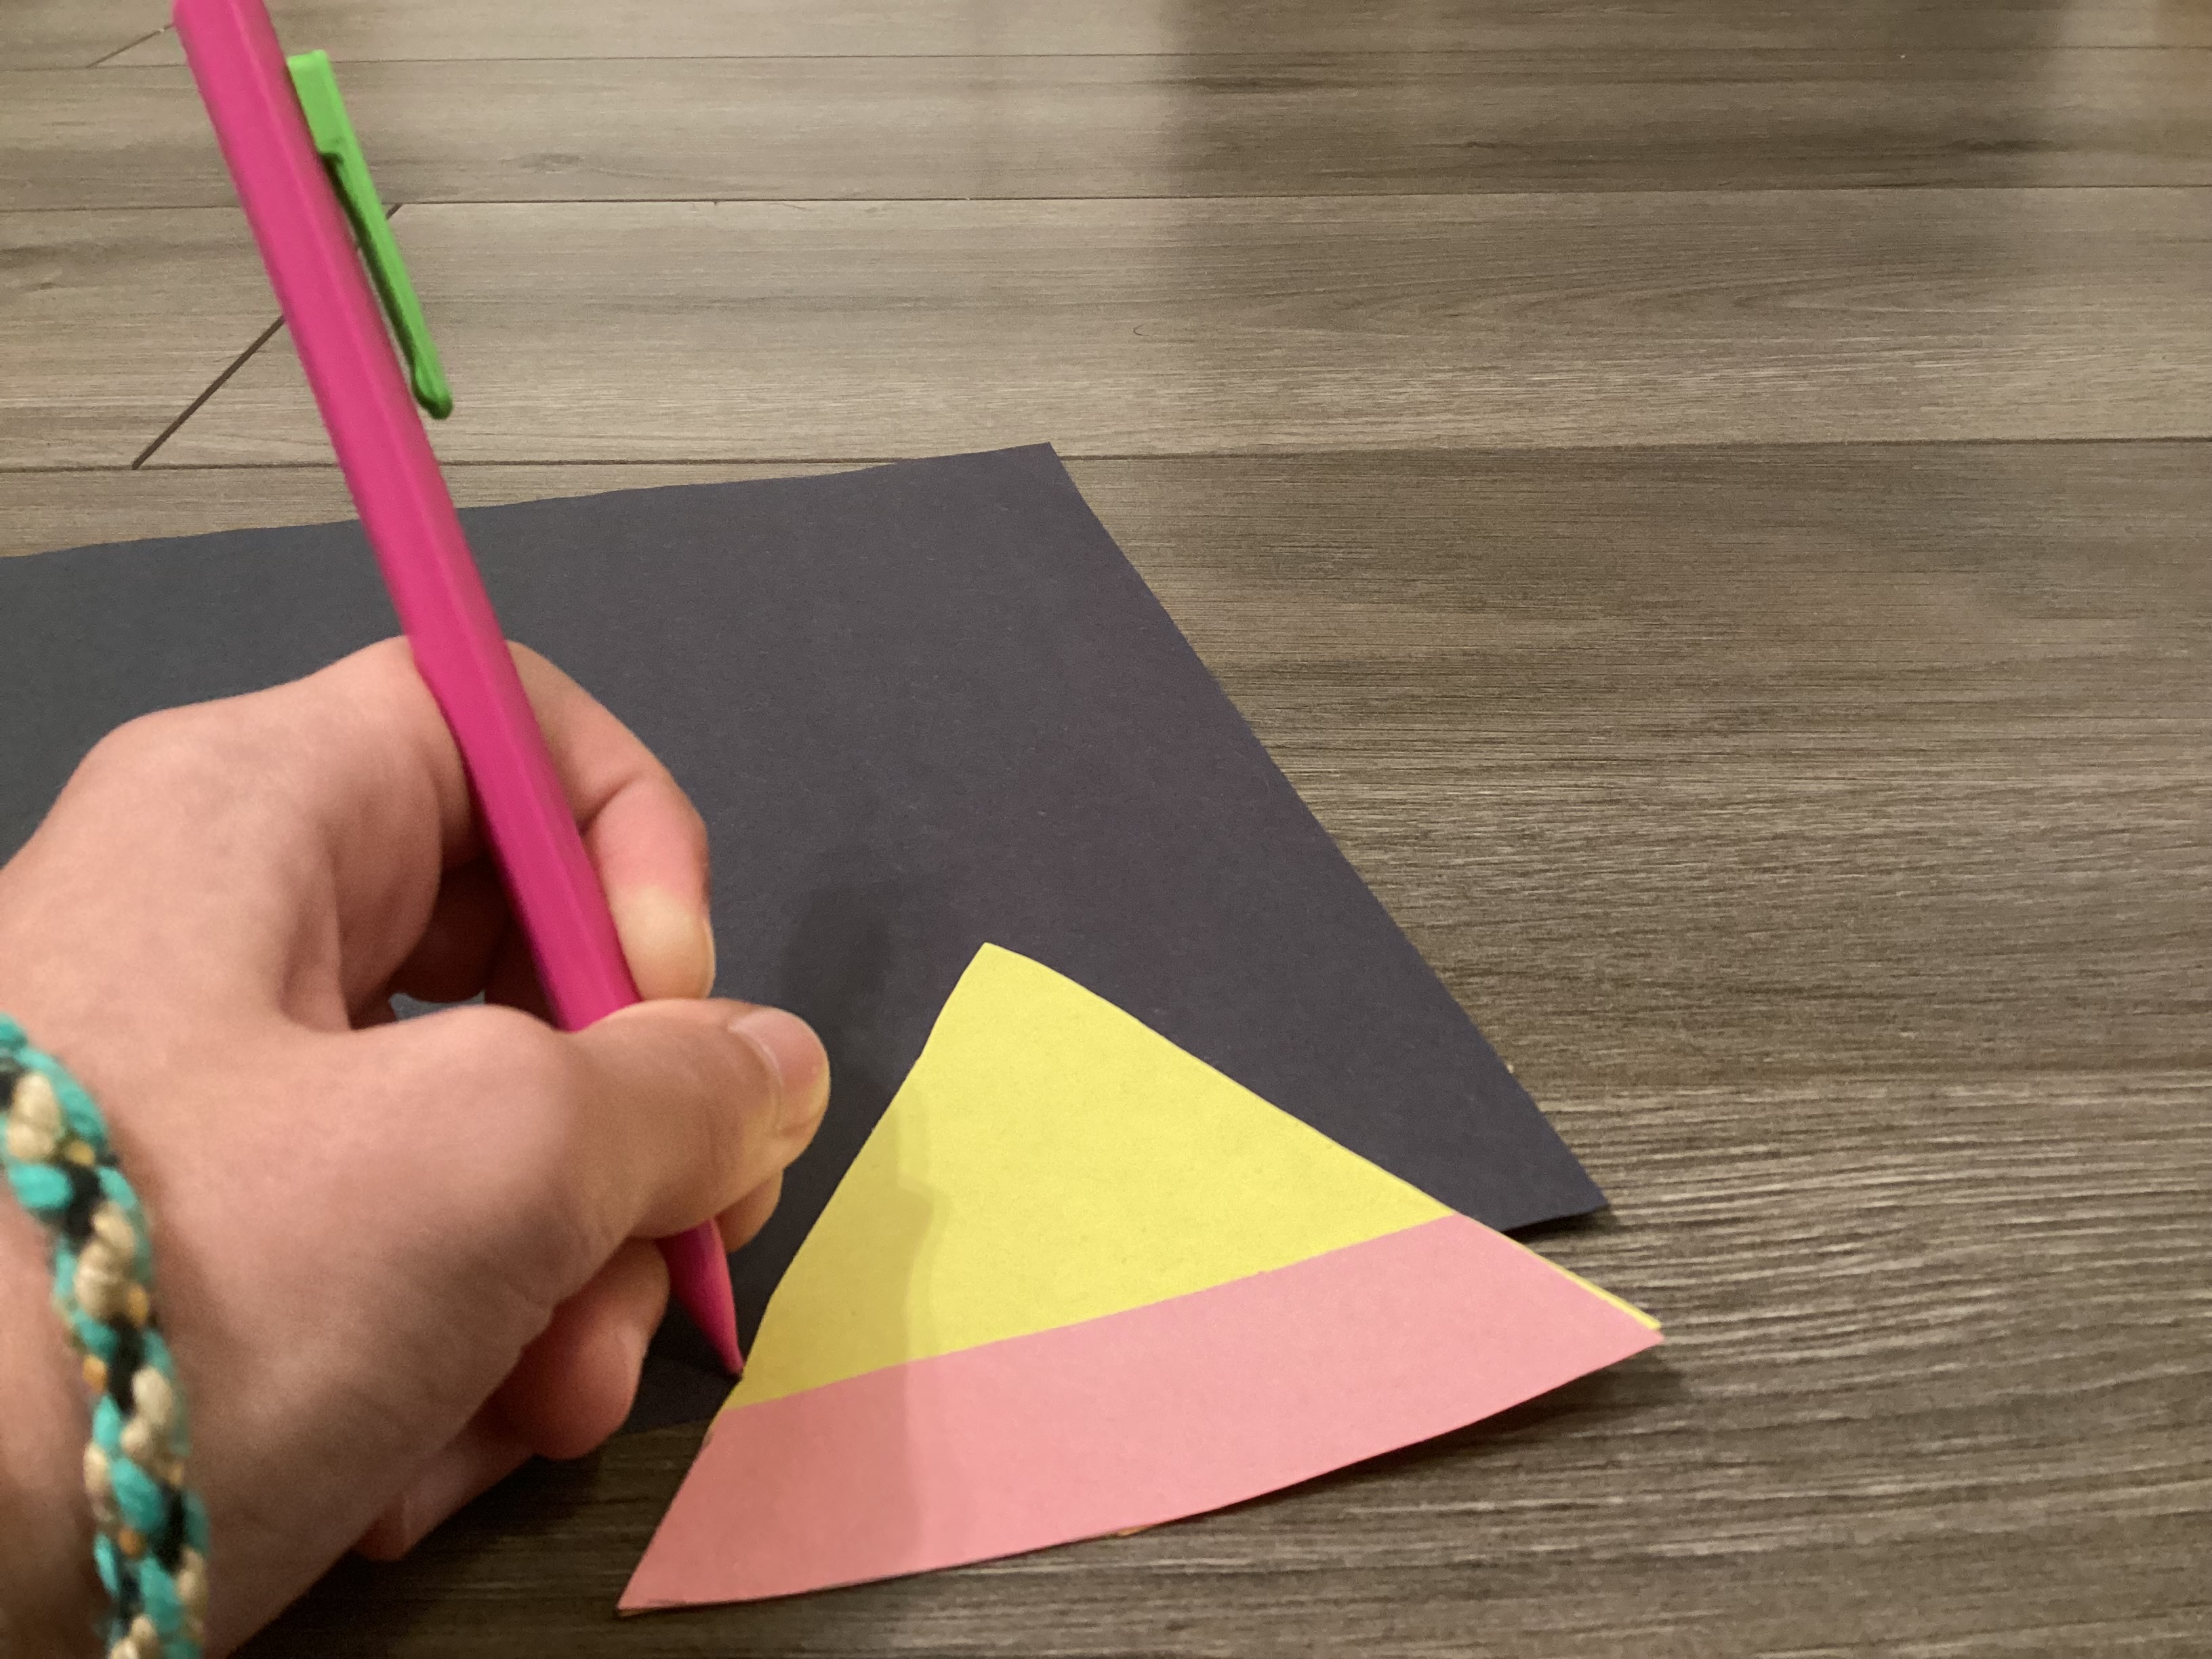
Craft:
Crafting is very fun! You can invent your own craft or do one you have seen. Crafting is a great way to pass the time, especially if you are doing a big craft. You can craft decor for your room, craft things you can use, create things with nature, or whatever! The choice is yours!
Write a Song:
The possibilities are endless when it comes to writing a song. It can be about you, family members, your life, something silly, nature, anything! Writing a song can be very enjoyable, and it does take time. I love writing songs, all of them are roughly under a minute ;), but it was still fun to write. And I like to sing the songs in front of my sisters, some of them are total hits! It is fun to perform, and to write the songs.
Plan an Imaginary Vacation:
This can be very enjoyable, and who knows! Maybe you will actually go on the vacation someday! All you have to do in order to plan a vacation (imaginary or real) is: pick a place, pick things to do, figure out who you’ll go with or if you will go alone, figure out how you will get there, places to stay, and much more! You can write all of your plans on a piece of paper, or you can just do it in your head. This is extra fun if you are planning an imaginary vacation with your friends!
Read a Book:
So. Many. Choices! Fantasy, romance, adventure, classic, fairy-tale, historical, and so much more! When it comes to books, there are so many options. So find one, open it, and see what it holds!
Cook:
Enjoyable and delicious! There are so many things out there that you could make. You could make a meal, or a dessert! The choice is yours. This activity takes time, and can teach you things in the process!
I hope this helped you. And I hope that now you have a fighting chance against boredom! Enjoy!
Saturday, June 29, 2024
Fruity Popsicles
Popsicles are a great snack when it comes to summer. They are refreshing, and delicious! And these ones are also healthy, well depending on your juice. So if it is hot, and you need a snack, make a popsicle!
Supplies:
Popsicle sticks
Fruit of your choice (I am going with strawberries)
Juice of your choice (I am going with tangerine juice)
Milk
Bananas
A popsicle mold
A blender
Directions:
1. Pour milk (one cup per 7 people) into your blender.
2. Add bananas (one per 7 people) into the blender
3. And add some juice into the blender (I suggest 2/3 of a cup of juice per 7 people) and blend
Note: While this is blending, or some other time, you should chop your fruit, if you did not buy pre-cut fruit4. Once that is fully blended, pour the mixture into your popsicle mold
5. Put it in the freezer for around 26ish minutes
6. After 26 minutes or so, drop the chunks of fruit in
Note: You may need to push the fruit down with a spoon or a popsicle stick
7. Place a popsicle stick into each section
8. Let freeze until they are completely frozen
9. Once they are frozen, you can eat them!