Saturday, August 31, 2024

DIY Cardboard Picture Frame


I love picture frames, they are just so cute!!! And they make a great bedroom decoration! So I thought, ‘Why not make one yourself?’ So let’s make one!


Supplies:

Cardboard (I used some from a box)

A hot glue gun (you can also use a glue stick like I did)

Scissors

A pencil

Paper (in whatever color you want, I used white)


Directions:


1. Cut a piece of cardboard that is the same size that you want the entire frame to be (keep in mind the size of your picture!)


2. Cut another piece of cardboard that is the same size as your last one


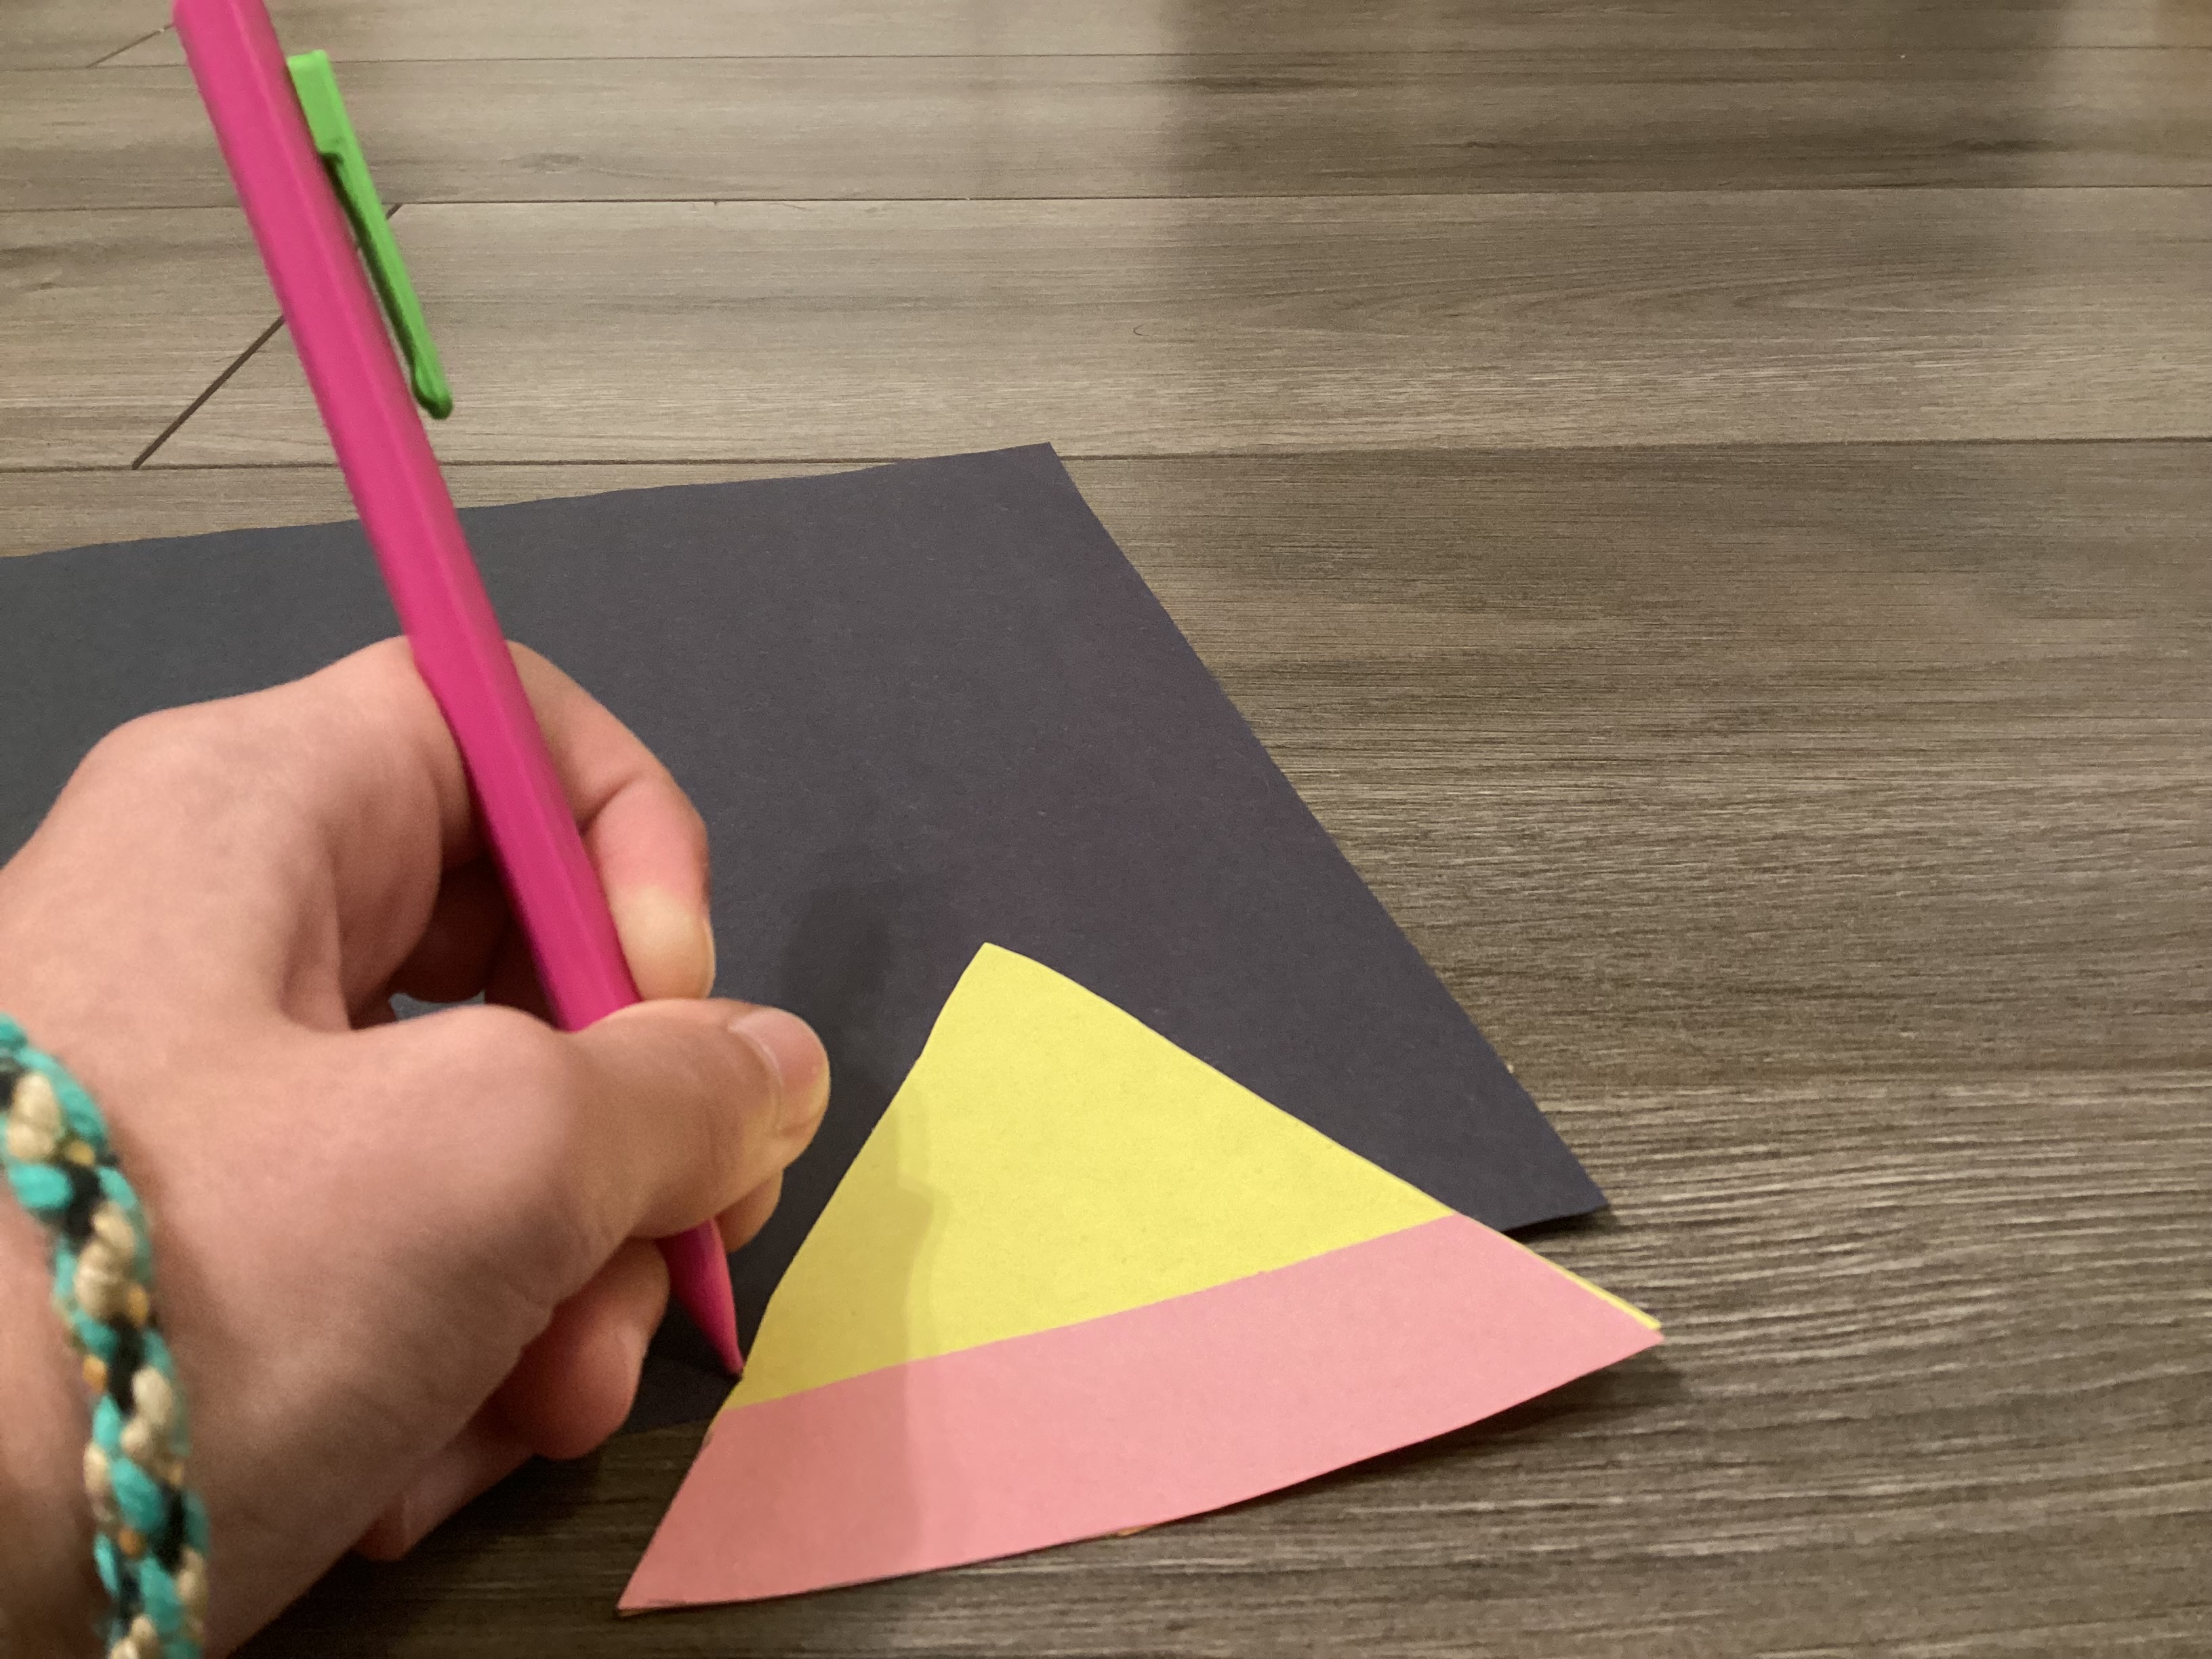
3. Then pick the one you want to be the frame part of the frame, and trace the size of your photo onto it, then cut it out, leaving an empty space in the middle of the cardboard.


4. Cover the frame part of your frame with paper (if you want)


5. Now cut another piece of cardboard, this one is going to be a rectangle that is the stand for your frame. It will be roughly 2inches long, and 4ish inches long (but that depends on the size of your frame)


5. Now glue that rectangle to the piece of cardboard (NOT the frame one) like so


6. Now at the very top of that rectangle apply glue


7. Now bend the rest of the cardboard rectangle onto the glued section (sorry if this is confusing!)


8. Now you are going to bend the bottom part of that, so that it stands up (you might have to fold it your own way to make it stand up properly!)


9. Now go back to the frame. Apply glue (on the non-paper side) all over it, except on the top (this is how your picture will come in and out of the frame)


10. Now glue it onto the other piece of cardboard (on the side that doesn’t have the rectangle on it) and insert your photo!


11. Prop it up with the stand, and you’re done!


Saturday, August 10, 2024

Paper Pencil Garland


The time is coming again to go back to school. And whether it is you, your kids, or someone you know that is going back to school, these are perfect! If you are homeschooled these can make a great decoration for your school photo. Or, you can hang them in your room just for fun! It all works so long as you think it does! So let’s jump right it and get to work!

Supplies:

Yellow paper

Pink paper

Black paper

Tan paper (or white paper colored tan)

A pencil

Yarn/string (technically, you could just tape them too the wall if you don’t want a garland)

Scissors


A glue stick

Directions:

1. Cut out a triangle from your yellow paper


2. Place the triangle over your pink paper about an inch and trace with that as your guide (and yes, my pink paper is very sad ;) )


3. Then cut out the traced shape you have on your pink paper


4. Glue it too your yellow triangle, right at the bottom 


5. Now place the triangle over your black paper, and trace a small black line, started where the pink ends at the top


6. Cut out, and glue to the paper right at the top of the pink

7. Now cut a triangle out of your tan paper (a small one, just big enough for the tip of your pencil, where the lead would be on a normal pencil) and make it bumpy 

8. Now use your pencil to add the lead tip on top of the tan paper

9. Glue to your triangle


10. Attach to string, make more, and you’re done!!